
Customer Project
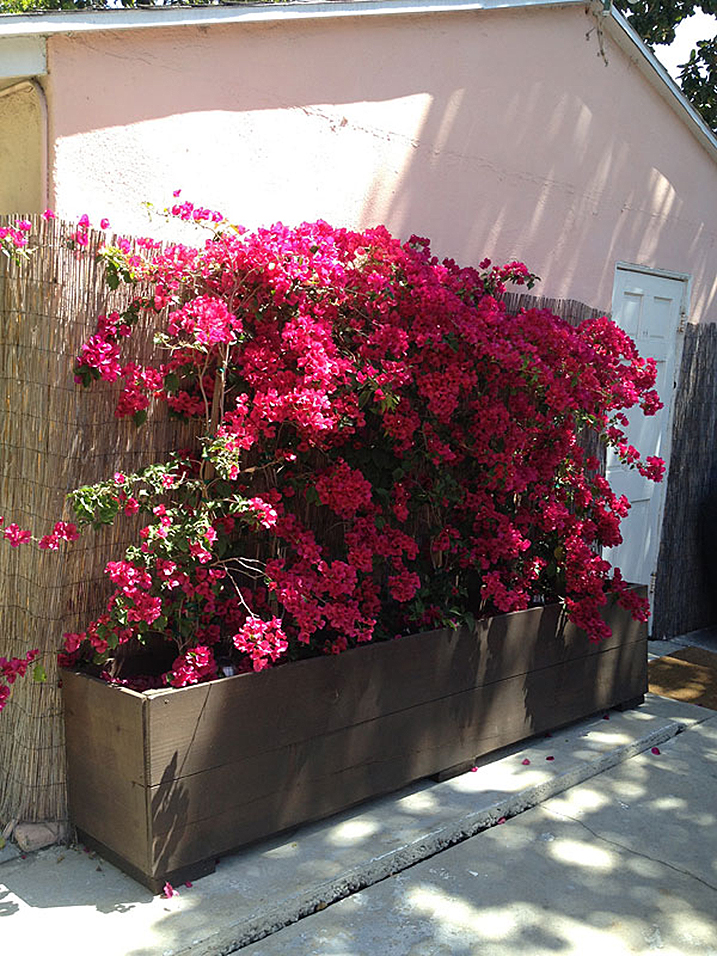
Build a Custom Planter
Browse Projects
-
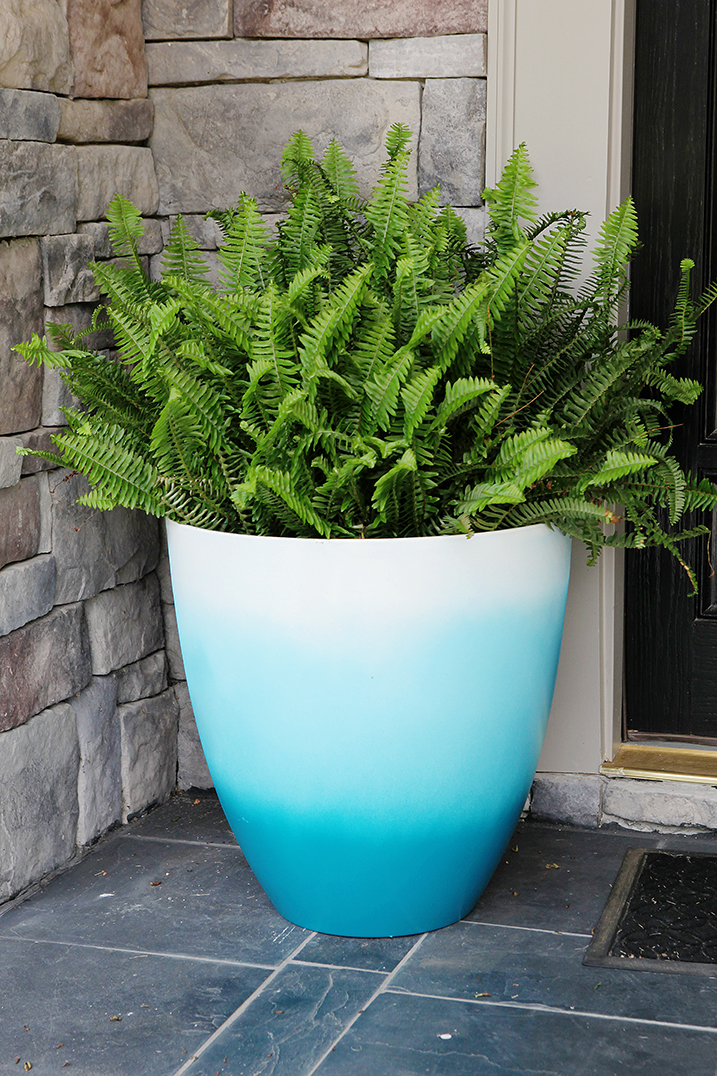
Ombre Pot
-
Wicker Furniture Refresh

-
Estimated Time
4 Hours
-
Challenge Level
Intermediate
-
Tools & Supplies:
-
Measuring Tape
-
(6) 8’x10″ Pine Board Pieces (Sides and Base)
-
(4) 18x10” Pine Board Pieces (Ends)
-
(3) 20x10” Pine Board Pieces (Base)
-
(6) 20” 2x4” Wood Pieces (Supports)
-
Jigsaw or Circular Saw
-
Sandpaper: grits 180
-
Box of 2″ Deck Screws
-
Drill/Driver with Phillips Bit or Screwdriver
-
1/4” Drill Bit
-
Pocket Hole Jig
-
Pencil
-
Drop Cloth
-
Rag
-
Plastic Liner with Drainage Holes
-
- Measure and cut all wood pieces using the jigsaw or circular saw.
- Sand the edges of each cut piece with sandpaper.
- To build the planter base: Line up two of the 8’x10” pine boards next to each other and secure three 20x10” pine boards to each end and across the middle with deck screws. (These are the legs and main support.)
- Flip the base over and use a pocket-hole jig to drill pocket holes around the base of each 2x4. (These will be the side supports; there should be a support at each corner and two in the middle.)
- Drive screws and attach each support to the planter base.
- Attach 18” pine board ends to the planter box by screwing them to the end supports. Work up from the bottom.
- Attach 18” pine board sides to the planter box by screwing them to the end and middle supports.
- Place drop cloth underneath the assembled planter.
- Apply wood stain to the planter, and remove excess with a rag after 10 minutes. Allow it to dry for 1-2 hours.
- Apply varnish with a rag, and allow it to dry for two hours.
- To contain soil and roots, install a plastic liner with drainage holes before filling the planter.